Summer seems to have finally arrived this week, which has been wonderful. Children leaving school for the summer holidays, plane tickets to exotic foreign destinations being snapped up quicker than you can say “Let’s Sew!” and a lovely helping of warm sunshine. What’s not to love?
Well if this week’s weather has got you thinking of jetting off or booking a weekend away, then make sure you make one of these Exposed Zipper Cosmetic Bags using this handy tutorial, to take with you wherever you go!
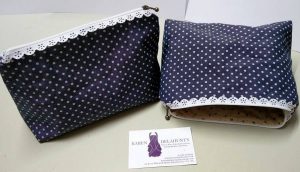
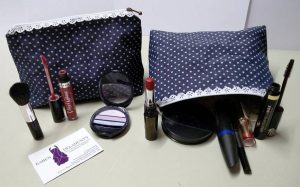
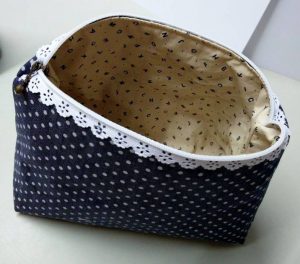
This week’s Crafty Friday Tutorial is our lovely Exposed Zipper Cosmetic Bag – don’t they look fabulous? These are the perfect way to upgrade your cosmetic bag without spending too much time or money. They are simple to make in just under an hour and cost under £12.00!
What You’ll Need
- Main Fabric (1 Fat Quarter or 25cm of any material)
- Inner/Lining Fabric (1 Fat Quarter or 25cm of any material)
- 25cm of Medium Weight Interfacing (Iron-On/Fusible)
- 30cm Lace Zipper
- Sewing Machine
- Scissors
- Pins
- Coordinating Threads
- Cardstock
- Pen
- Ruler
How to Make an Exposed-Zipper-Cosmetic-Bag
- First of all, you’ll need to draw up your pattern piece. Take your cardstock and pen and start by drawing a rectangle, 10cm x 16xcm.
- From the shorter edge, measure up 5.5cm and make a mark.
- Next, draw a line 4.5cm out from the mark you’ve just made.
- Now join the line you’ve just drawn to the other shorter edge of the rectangle.
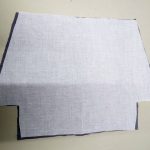
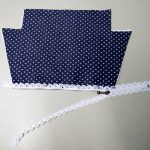
- This is now your pattern, cut it out. On the long straight edge make a note to “Cut on Fold.”
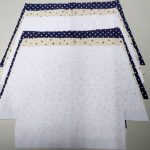
- Using the pattern piece you’ve just made, pin to the fabric you have chosen to be the main body of the bag, ensuring the edge is placed on a fold – cut x 2.
- Repeat this step using the inner/lining material
- Repeat this step using the medium-weight interfacing.
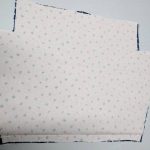
- Now you have six pieces, cut out and ready to sew. Place the fusible interfacing on top on the main fabric, ensuring that the wrong sides are together.
- Adjust your iron temperature and settings according to the main fabric. With the interfacing showing, iron gently over the top for a few seconds (or until you’re happy the materials have fused together.)
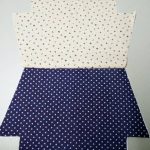
- Place the Inner/Lining fabric on top of the main fabric with right sides together, pin along the top edge. Using a 1cm seam allowance, sew along the edge. Repeat this for both sides of the bag.
- Press the seams flat. Fold over so you now only see the right sides of the material, no interfacing should be showing at this point. Repeat this for both sides of the bag.
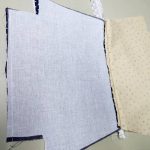
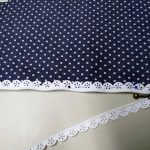
- Open out the lace zipper and pin the tape to the main fabric and lining. The tape should show on the main fabric. Zip back up slightly, so that the zip pull is not poking out the side of the fabric.
- Using a zipper foot on your sewing machine, stitch as close to the zipper edge as you can. Sew all the way to the end of the material (not the end of the zip.)
- Repeat the previous two steps on the other side of the bag, so the zip is joined to both sides.
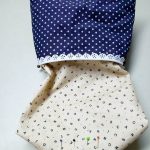
- Separate the lining materials and main fabrics, so one sits at either side of the zip. On the main fabric stitch a 1cm seam allowance at the bottom edge. On the lining fabric, stitch a 1cm seam allowance along the bottom edge, but leave a gap of 10cm for turning out.
- Pin the edges of the zipper tape together so they don’t move. Stitch a 1cm seam allowance along both side seams.
- Pull together the bottom edges to make the bag base aligning the seams and stitch the corners. Do this on both the main fabric and the lining fabric. Stitch using a 1cm seam allowance.
- Turn the right way out through the gap you left in your lining, press out the corners. Hand-stitch the gap in your lining and hide inside the bag.
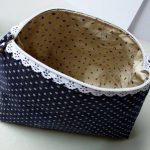
And there you go, in just under an hour you’ve made yourself a beautiful exposed zipper cosmetic pouch, hooray! Now to go an fill it up with all of your make-up and cosmetic needs!:)

To make our exposed zipper cosmetic bags we used our polka-dot navy blue chambray we also used one of our fat quarters as well as our medium-weight fusible interfacing.
We hope you enjoyed this little tutorial and (as always :-)) we’d love to see any that you have made too, so feel free to send those to us via social media or our email address karendelahunty@outlook.co.uk

