It’s finally Friday (hooray!) 😀
What a week it has been! Our summer sale launched earlier in the week and we’ve been super busy ever since, so it’s nice to have finally found some time to sit with a cup of tea and share this simple and fun tutorial with you all.
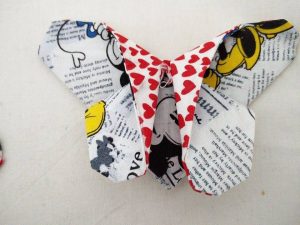
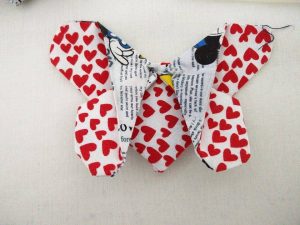
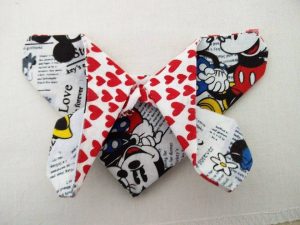
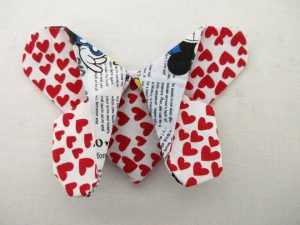
This week, we made these lovely sewn-origami-butterflies – aren’t they the cutest things ever! These can be turned in to almost anything; hair accessories, baby mobiles, bunting, accessories and so many other things!
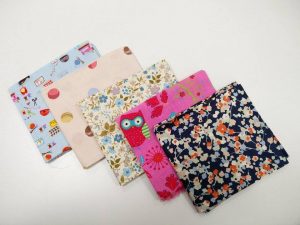
They don’t take a lot of fabric so are perfect for using up scraps or for those fat quarters that you’ve not got around to using – or they could be the perfect excuse to buy more! 😉
You can make these from paper of card or paper too, simply follow the first instruction and then skip ahead to “The Folding Instructions” and remember you won’t need to use fabric, the iron or a sewing machine.

What You’ll Need
- Fabric x 2 (You can use the same material all over if you prefer, but make sure you cut out two of the pattern you’ll make)
- Cardstock
- Scissors
- Thread
- Hand Sewing Needle
- Sewing Machine (Optional – you can make these by hand too!)
- Ruler
- Pen or Pencil
- Iron
- Pins
How To Make Fabric Origami Butterflies
- Using your Pen/Pencil and Cardstock, draw a rectangle that is 6” (15 cm) x 4½” (11 cm) and cut out. This will be your pattern to help cut out your fabric.
- Pin your template to your chosen fabrics and cut out. Remember if you’re using two different fabrics, cut only one of each; if using the same material, cut two.
- Place the right sides of the material together and sew around the edges using a narrow 1/4” (0.5 cm) seam. Leave a 1” (2.5 cm) gap along one of the longer edges – this is for turning out later. Remember to reverse stitch (if using a sewing machine) at the beginning and end to hold your stitches in place.
- Trim any excess threads and turn your rectangle the right way through the 1” (2.5cm) gap you left. Make sure to push the corners out neatly – trim the seam allowance if you need to, to make this easier. Sew up the gap either by hand or machine – this part will be on the back of the butterfly, so don’t worry if it isn’t perfect. You can Top-Stitch now at this point if you wish to do so.
- Switch on your iron, the temperature will vary depending on the kind of material you’ve chosen. You will only be using the iron for pressing.
The Folding Instructions
- Lay your rectangle with the shorter sides pointing horizontally. Fold one of the shorter edges up toward the other shorter edge, so your rectangle is in half. Press with your iron.
- Fold one of the longer edges toward the other long edge and press with your iron.
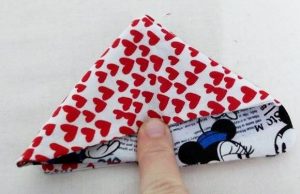
- Unfold the last fold you made, pull the right-hand corner of the rectangle down and push inward towards the centre fold, this should create a triangle. Press with your iron.
- Flip the butterfly over and do the same as the previous step, on the side that is now facing you. Press with iron.
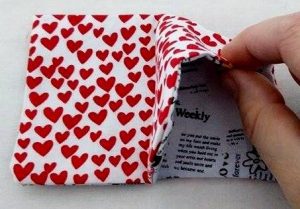
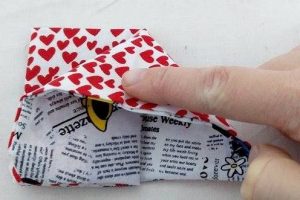
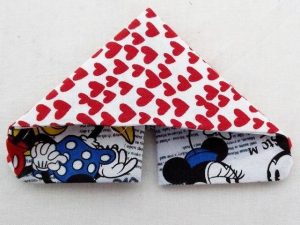
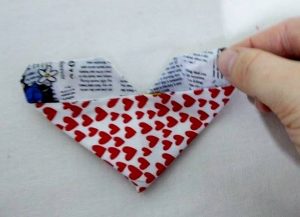
- You’ll now have a triangle shape with two flaps at the bottom. Fold this flaps so that they touch your triangle shape and again, press with your iron. Watch your fingers at this bit, it’s a little tricky!
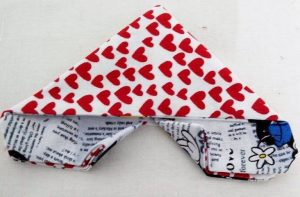
- Unfold the flaps and push them inward on themselves so they are no longer pointing outward. Press again with your iron.
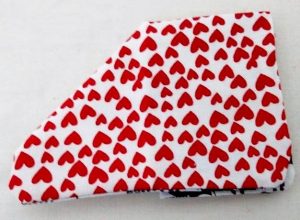
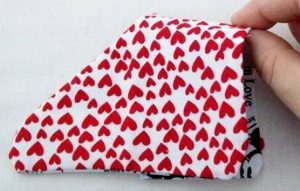
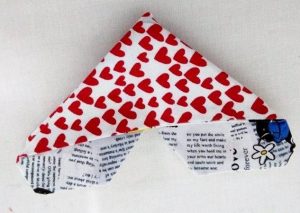
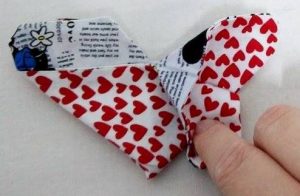
- Turn the butterfly around so that the triangle shape is pointing toward you and the edge you just worked on is at the top. From the top pick up one layer and fold down toward the triangle point. Repeat this step on the other side. Once done, press with your iron, be quite firm at this point to ensure it stays in place.
- Fold your butterfly in half so that the wings (or the pretty sides) are together, hand-stitch along the centre fold to secure.
- Now you have your butterfly you can use some hot-glue to attach a hair-pin, thread several along some wire and attach to an embroidery hoop for a lovely baby mobile or stitch them to bags and purses!
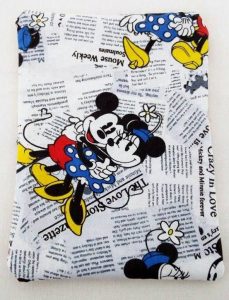
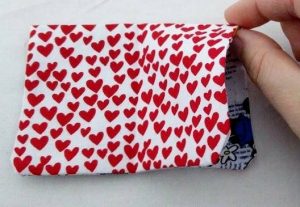
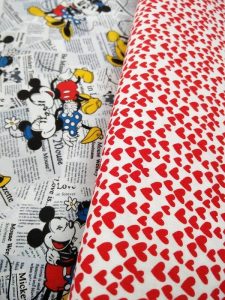
To make our butterflies we used our lovely fully-licensed Disney Mickey Mouse material and our beautiful 100% Cotton printed with red hearts. You could also use any of our fabulous Fat Quarter’s!
We hope you enjoyed this little crafty tutorial as much as we did! We’d love to see any that you have made too, so feel free to send those to us via social media or our email address karendelahunty@outlook.co.uk

